Hello friends, today we are knowing about How to start a store on shopify free without investing any money (0 Investment).
Create and New Gmail Account:
First of all you need to create an new gmail a How to start a store on shopify free without investing any money (0 Investment) ccount for sign-up on Shopify store. Make sure you will put that name in your new gmail those will use for you brand name (for example: amazon@gmail.com, messho@gmail.com) etc, because that will help you in future to grow your brand.
1. Visit the Shopify Website:
- Open
your web browser and go to Shopify’s
homepage.
2. Start Your Free Trial:
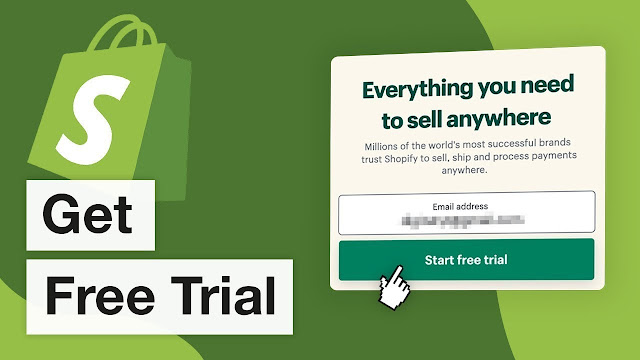
- Click “Start Free Trial”:
- You’ll see a prominent button to start a free trial on the homepage. Click on it.
- Enter Your Email Address:
- Provide your email address to begin the sign-up process. That's the i have told you in the start of this blog to create your new account for sign-up those are helpful for this step.
- Create a Password:
- Choose a secure password for your Shopify account.
- Choose Your Store Name:
- Enter a name for your store. This will be the name displayed on your store and in Shopify’s admin panel. Before the put any random name for your store make sure about it so i am suggested to you please think about your store name before given the name.
- Click “Create Your Store”:
- After
filling in the required fields, click the button to proceed.
- Complete the Store Setup Questionnaire:
- Shopify
will ask a few questions to tailor the setup to your needs:
- What
will you sell?: Choose your product type.
- Are
you already selling?: Indicate whether you are currently selling or
just starting.
- Your
current revenue: Provide an estimate if applicable.
- Country/Region:
Select your location.
- Click “Next”:
- After
completing the questionnaire, click the button to proceed.
4. Add Your Business Information:
- Enter Your Business Details:
- Provide
your name, address, and contact details. This information is used for
billing and setting up payments.
- Set Up Your Store’s Address:
- Enter
the address where your store is based.
- Click “Enter My Store”:
- After
entering your information, click the button to access your Shopify admin
dashboard.
5. Customize Your Store:
- Choose a Theme:
- Go
to the “Online Store” section in the left sidebar of
your Shopify admin.
- Click
on “Themes” and browse the available free and paid
themes. there is also paid themes are available, but as i told you in
this blog we are creating free store on shopify without 0 investment,
that why we are using free themes provided by itself Shopify.
- Choose
and customize a theme that fits your brand. This option will provide you
to customize your themes according to your use. what kind of information
you want show on your store.
- Add Products:
- Navigate
to the “Products” section in your Shopify admin.
- Click “Add
Product” to enter details about each product you want to sell,
including images, descriptions, and prices.
- Make
sure before listing any products on the shopify store you need to do
correct research on the product like demand and trend of this product in
the marketing.
- Set Up Payment Methods:
- Go
to “Settings” > “Payments”.
- Choose
and configure payment gateways such as Shopify Payments, PayPal, or other
options.
- Always
choose an safe and user friendly method for accepting payment by customer
this is very important part of your store if your store doesn't have
secure payment option available how could you customer trust on your
store. You will use like Razorpay, PayPal etc.
- Configure Shipping Settings:
- Go
to “Settings” > “Shipping and Delivery”.
- Set
up shipping zones, rates, and methods based on your shipping strategy.
- Create Essential Pages:
- Create
pages like “About Us”, “Contact Us”, and “Privacy
Policy”.
- Go
to “Online Store” > “Pages” to add
and manage these pages.
6. Launch Your Store:
- Review Your Settings:
- Ensure
all settings, products, and content are correctly configured.
- Choose a Domain Name:
- You
can either purchase a new domain through Shopify or connect an existing
domain.
- Go
to “Online Store” > “Domains” to
manage your domain settings.
- Set Up Analytics:
- Integrate
Google Analytics or other tracking tools to monitor your store’s
performance.
- Launch:
- Once
everything is set up and reviewed, you can remove the password protection
from your store (found under “Online Store” > “Preferences”)
and officially launch your store to the public.
7. Market Your Store
- Promote Your Store:
- There
is many options available for parmoting your store but in this blog we
use only free source like social media, email marketing, and other
advertising methods to drive traffic to your store.
- Monitor and Optimize:
- Regularly
check your store’s performance using Shopify’s analytics tools and make
adjustments as needed for get the good results, traffic and orders.
By following these steps, you can successfully sign up for
Shopify and set up your online store. If you encounter any issues, Shopify’s
support resources and community forums can be helpful.

.jpg)
.png)


